Upgrade v1.x to v2.x
Preparation
To upgrade firmware from version 1.x to 2.x, or to recover from the state when the BMC does not boot, prepare the SD card and the SD card reader (if your computer does not contain it). The image size is small, well under 100MB, so the card size does not matter. Be aware that if you have any data on this SD card, it will be lost.
You always find the newest firmware version on https://firmware.turingpi.com/turing-pi2/
To perform the upgrade, download the .img file of the newest firmware version. You can use software of your choice to burn the image onto the SD card, but we also show examples below.
This process is also applicable if the BMC chip does not boot anymore or there is a need to completely re-flash the firmware
This process of upgrading from firmware v1 to v2 will remove any custom files and settings and perform a clean install
This section contains:
Short version
- Burn the SD card with the upgrade image
- Insert the SD card into Turing Pi 2 and power it on
- Wait for the 4 LAN port LEDs to start blinking slowly
- Press
KEY1on the board orPowerbutton in the case (if you have a front panel connected) rapidly 3 times (or type inCONFIRMin the console if you have UART connected) - During flashing, the LEDs will animate by turning a single LED on from left to right
- The LEDs will start blinking twice when the flashing succeeds
- Remove the SD card and reboot
Detailed version
Flashing the SD card under Windows
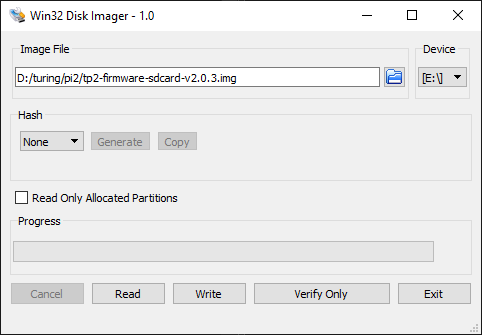
Download and install Win32 Disk Imagerr. Open it and in the Image File section choose the downloaded .img file. On the right, in the Device section, choose the SD card letter. Note that only removable devices will be shown on the drive list - disconnect any other removable drives if you’re unsure which one to use. If the SD card contains more than a single partition, it may appear with multiple drive letters on this list - choose the first one. Click on Write:
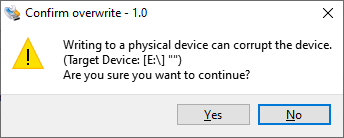
Confirm to start writing the image onto the SD card:
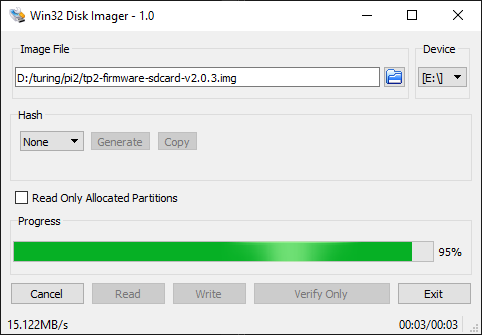
The flashing process will begin and should be fast - should take between a few and a dozen seconds:
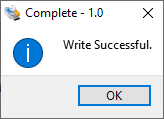
Once the flashing is done, a message indicating this will pop in:
You can remove the SD card from your computer.
Flashing the SD card using Linux/MacOS
On Linux and Mac an easy way is to use the dd command to flash the SD card and lsblk to find the device to flash. Because there are multiple ways to connect the SD card to a computer, the card might appear as /dev/sdX or /dev/mmcblkX. One of the easy ways to find the device name is to run the lsblk command before inserting the card, then insert the SD card, run this command again, and find which device has appeared. In this example, it’s sde:
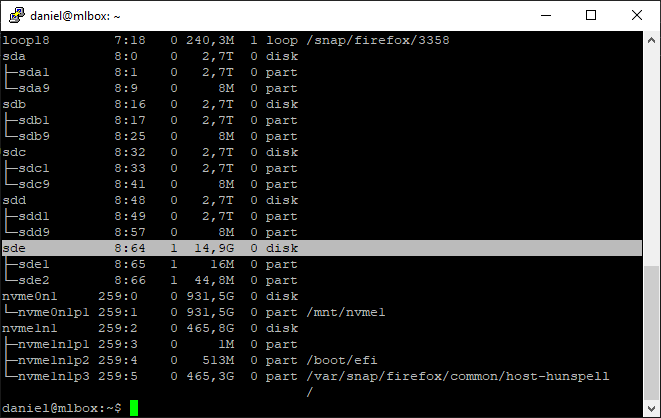
When determining the device to use, look at the second to last column to contain disk and not part - we need to image the disk, not it's partitions. Also, make sure that the disk size matches your SD card size. Double-check that you found the right device name to prevent accidental writing on a disk you did not intend to write to. Remember SD card's device's name.
On macOS you can list available devices using:
sudo diskutil list
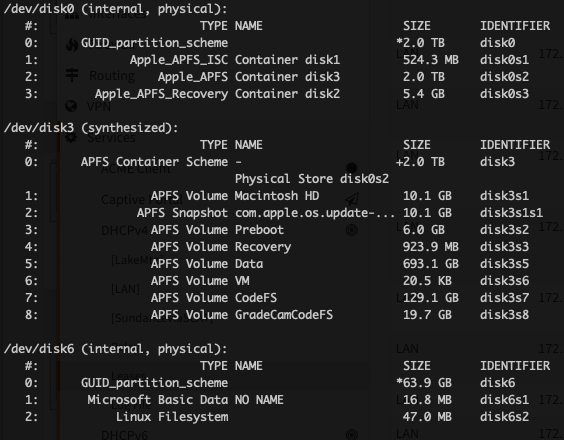
You will need to unmount the disk before writing to it; in the case above the SD card is /dev/disk6:
sudo diskutil unmountDisk /dev/disk6
To flash the SD card use dd command as follows:
sudo dd if=path/to/tp2-firmware-sdcard-v2.x.x.img of=/dev/the_device bs=1M
where:
path/to/tp2-firmware-sdcard-v2.x.x.imgis the path to where you saved your image file, for example~/Downloads/tp2-firmware-sdcard-v2.0.4.img/dev/the_deviceis the SD card device withthe_devicebeing the previously remembered drive (sdein the shown example)
For example:
sudo dd if=~/Downloads/tp2-firmware-sdcard-v2.0.4.img of=/dev/sde bs=1M
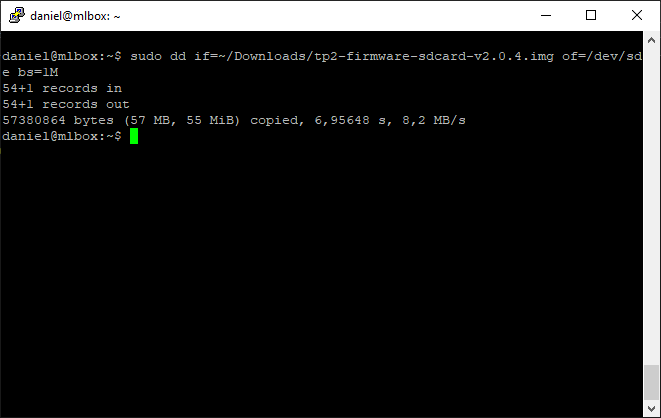
You can remove the SD card from your computer.
Upgrading the firmware using the flashed card
Power down Turing Pi 2, insert the card, and connect power to the Turing Pi 2 board again. Alternatively, you can insert the SD card and press the BMC reset button.
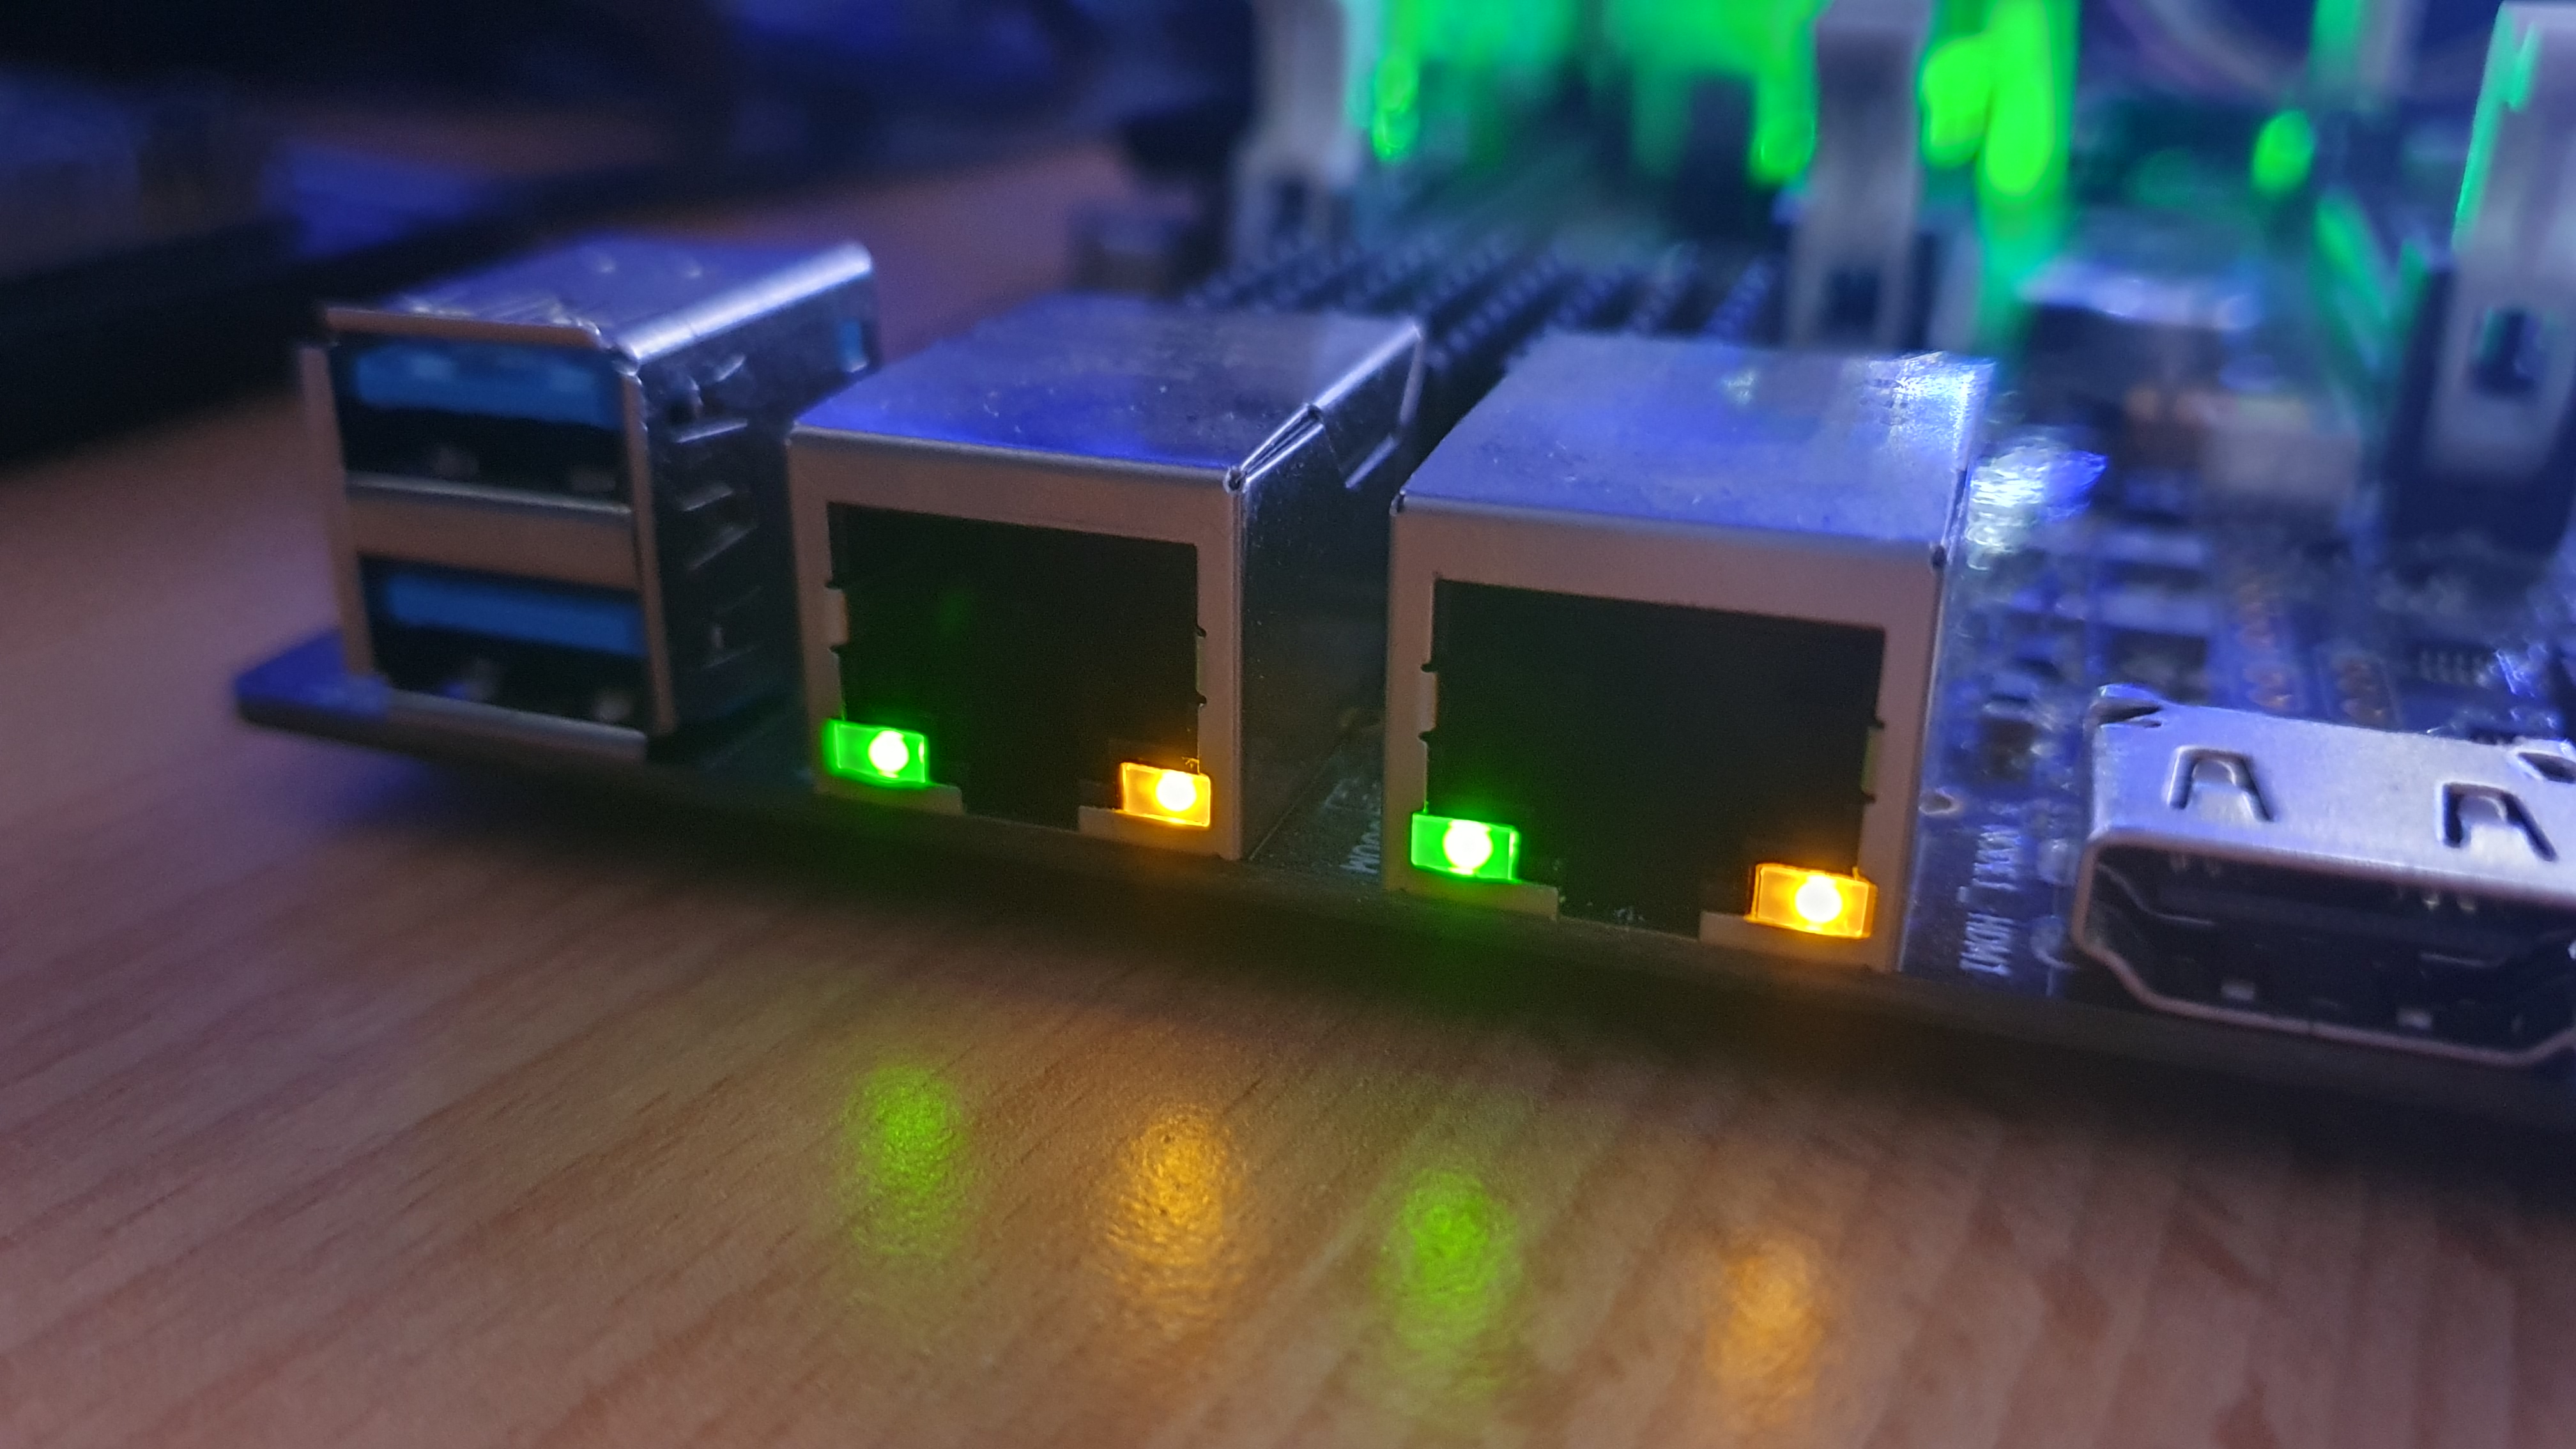
After a few seconds, the board will indicate that the firmware upgrade is ready by slowly flashing all 4 LAN port LEDs on the back of the board:

If you have a UART interface connected, you’ll also see a message:
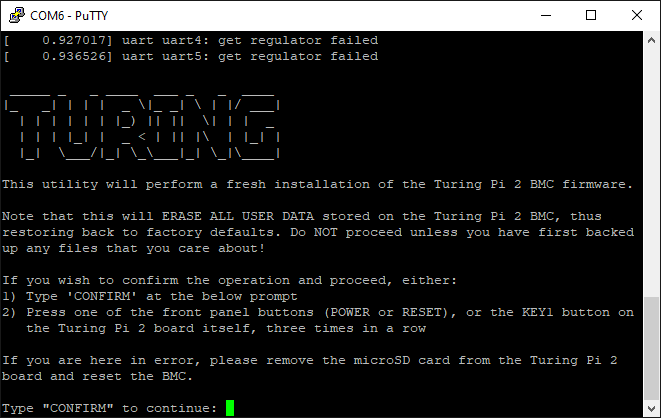
The console is not necessary to perform the upgrade but it will let you see more details about the upgrade process
To continue the firmware upgrade process choose one of the below:
- press
KEY1on the board rapidly 3 times - press
Powerbutton on the case (if you have a front panel connected) rapidly 3 times - type in
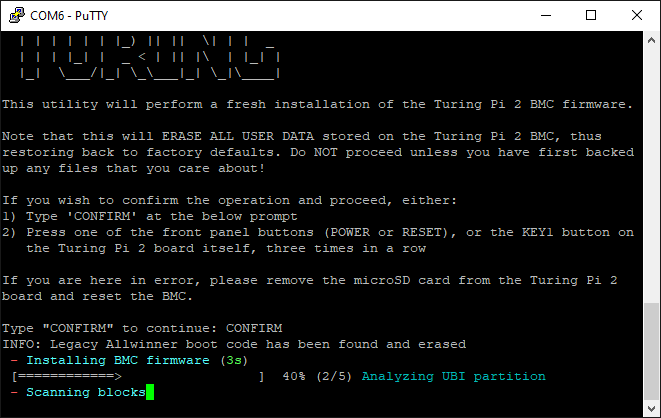
CONFIRMin the console and pressEnterif you have UART connected
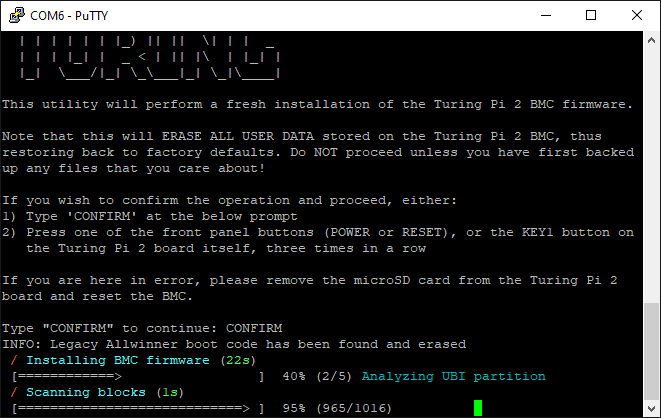
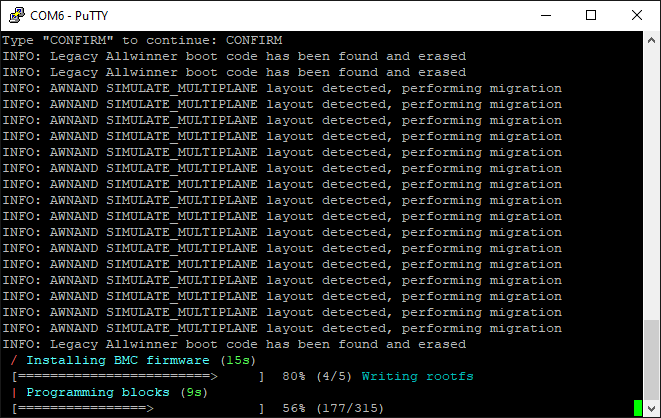
The flashing process will start and will be indicated by the LED animation (LEDs will turn on one at a time from left to right):
and in the console (if you have it connected), you’ll see, for example:
If the flashing fails for any reason, the LEDs will start blinking the "SOS code":

Interrupting the upgrade process (e.g. due to a power failure or error during flashing) is not “dangerous” but will result in a non-bootable BMC until installation is reattempted and completes successfully
Once the flashing process is finished, the LEDs will start blinking twice:
and the console will print this message:
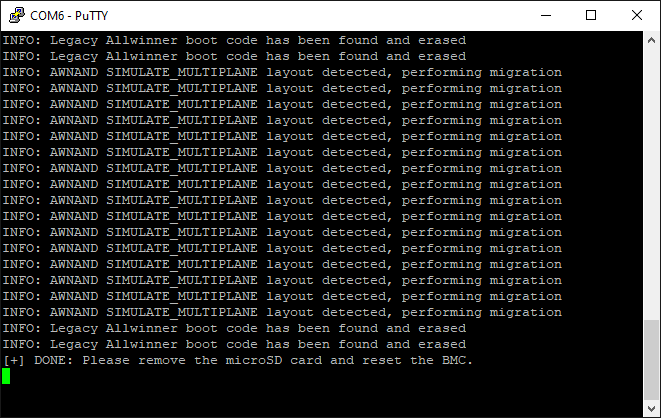
Disconnect power from the Turing Pi 2 board, remove the SD card, and connect the power back. Alternatively, you can remove the card and restart the BMC.
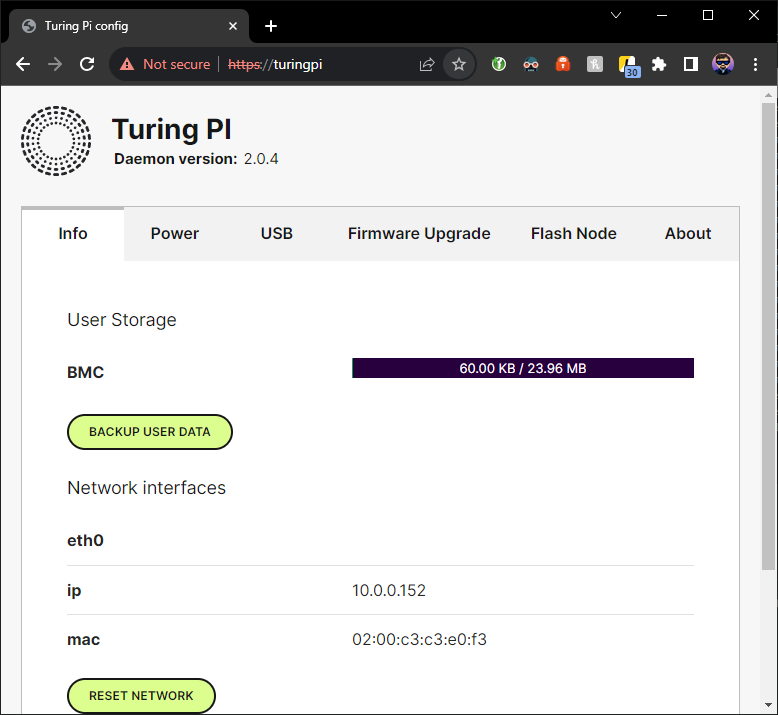
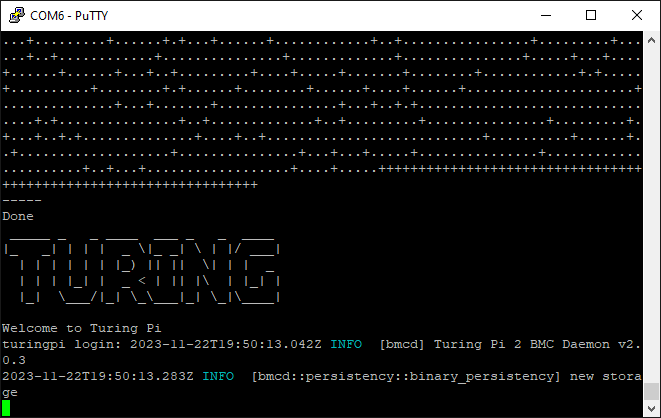
The first boot can take over a minute to finish because of post-upgrade processes like certificate generation. Once the boot is complete you can navigate to BMC UI to verify the new firmware has been installed (the interface will change and will show the version in the top section next to the logo and below “Turing Pi”:
You can see the version in the UART console as well:
Alternative ways of "removing" the SD card
If you want to leave the SD card in the Turing Pi 2 board and not remove it after you upgraded firmware from v1.x to v2.x, that'll prevent the BMC from booting because it will detect firmware on the card and try to upgrade again.\
Using UART:
Interrupt the boot process (during the U-boot phase) when asked and use the command:
mmc erase 0 1000
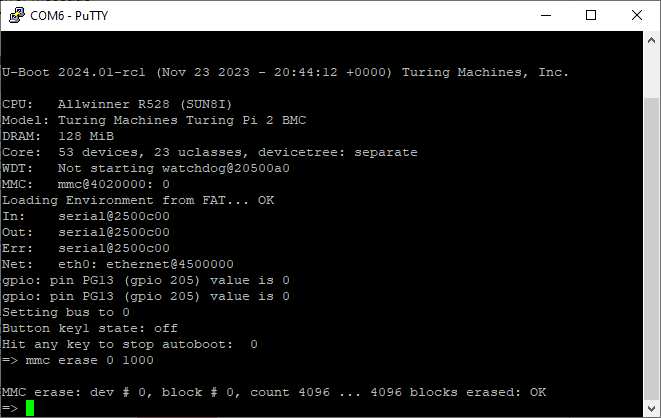
And reboot.
This will make the partitions disappear and you'll need to recreate the partitions once you boot the BMC
Using SSH:
Press and hold KEY1 for 5s when powering on or resetting the board. The board will boot into a safemode boot. The boot will take over a minute to perform. SSH into the BMC (refer to BMC UI to find out the hostname or IP and for default login and password). While logged in perform:
dd if=/dev/zero of=/dev/mmcblk0 count=4096
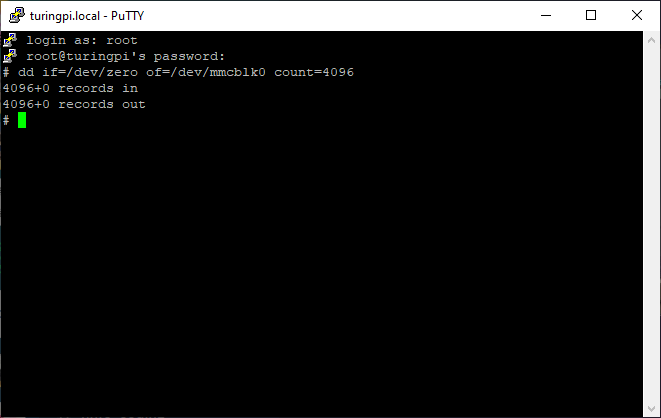
And reboot.
This will make the partitions disappear and you'll need to recreate the partitions once you boot the BMC. Since this is the BMC firmware running (even if in safemode mode) you can also re-format the card using fdisk
Upgrading the firmware without SD card access
To perform the upgrade you are going to use ssh command. Use PowerShell on Windows and any console emulator on Linux and MacOS.
If you have data on the SD card that you want to retain, first unmount the SD card and make a local copy (refer to BMC UI to find out the hostname or IP and for default password). This example assumes default turingpi hostname and Linux/MacOS:
ssh root@turingpi umount /mnt/sdcard
ssh root@turingpi dd if=/dev/mmcblk0 > /local/path/to/sdcard-dump.img
On Windows use the Windows path style, for example:
ssh root@turingpi umount /mnt/sdcard
ssh root@turingpi dd if=/dev/mmcblk0 > D:\sdcard-dump.img
Now refer to Preparation and download the .img image file. Flash the image using:
ssh root@turingpi dd of=/dev/mmcblk0 < /path/to/tp2-firmware-scdard-v2.x.x.img
Reboot the board and continue with firmware upgarde.
Once the firmware is flashed, use one of the alternative ways of "removing" the SD card.
Once you boot into the new firmware and you made a backup of your card, you can flash your SD card data back to the card:
ssh root@turingpi dd of=/dev/mmcblk0 < /local/path/to/sdcard-dump.img
Updated 2 months ago